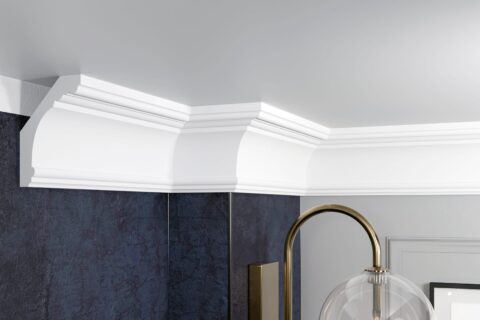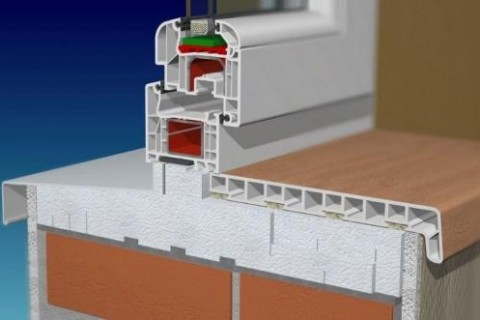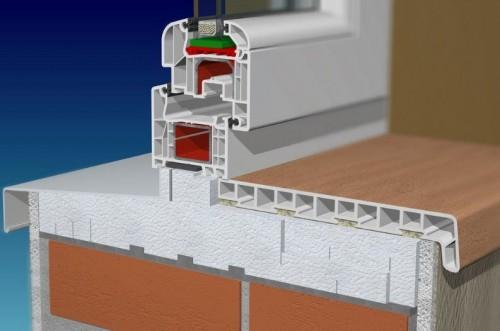
Thermal window sills, also known as warm sills, are styrofoam profiles installed as a thermal insulation beneath windows. They serve a dual purpose: replacing traditional window sills while providing effective internal and external insulation. Additionally, warm window sills prevent moisture infiltration into buildings and eliminate thermal bridges.
What Are Warm Window Sills?
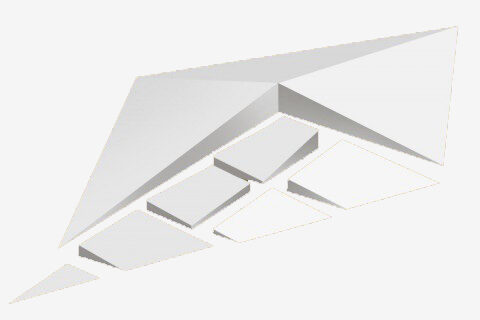
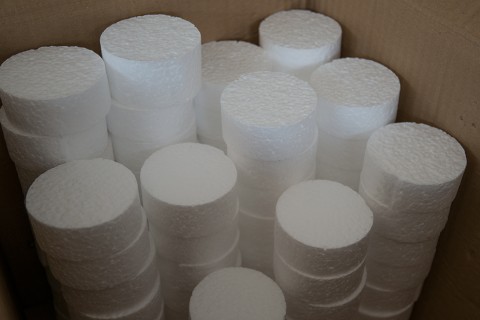
Thermal window sills are profiles made from extruded polystyrene, commonly known as XPS foam. These profiles offer sturdy support for both external and internal window sills. They are suitable for aluminum, plastic, or wooden windows. They are available in standard dimensions that fit the most popular window sizes and can also be custom-made for systems with unique shapes and dimensions.
The installation of warm window sills ensures a tight seal between the wall and the window, preventing the formation of thermal bridges that allow warm indoor air to escape and moisture to enter.
While warm window sills are now a standard and widely used solution in newly constructed homes, there is no impediment to installing them in older buildings. However, retrofitting warm window sills may require window replacement, so it is advised to plan thermal insulation during window replacement projects.
Warm window sills made of styrofoam are recommended for triple-glazed windows. The weight of these windows can deform regular mounting foam, creating deformations that allow cold air to enter the building. A warm window sill beneath balcony or terrace doors provides a robust, durable base and ensures proper alignment, eliminating the risk of leaks.
Advantages of Thermal Window Sills
Both external and internal warm window sills enhance a building’s thermal properties, raising its standard and overall condition while reducing heating costs. Opting for warm window sills allows you to:
- Seal windows effectively, eliminating cold drafts.
- Prevent condensation on window surfaces.
- Gain a sturdy framework for both external and internal sills.
- Prevent moisture accumulation within the window system.
Production of Warm Window Sills
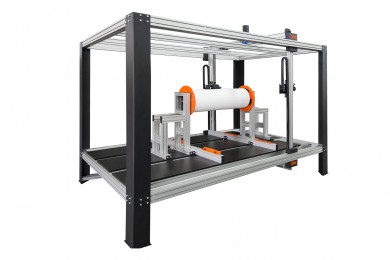
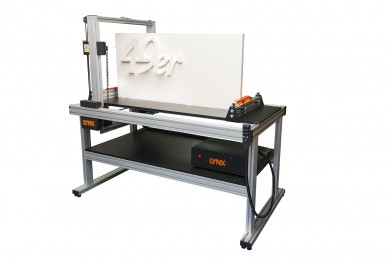
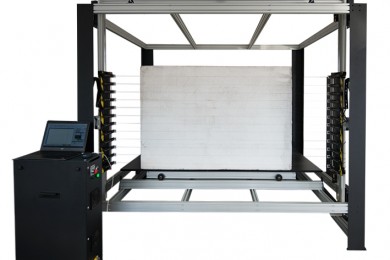
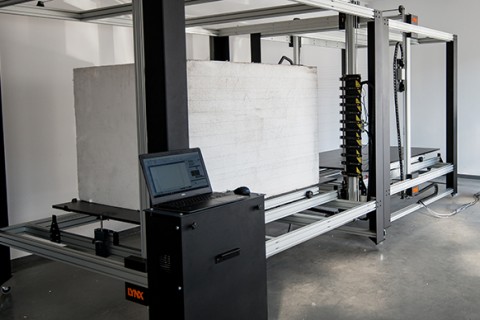
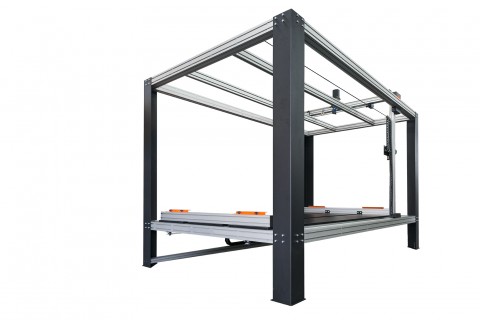
Warm window sill profiles are produced using LYNX TERMCUT A130 thermal cutters. This series of CNC cutters are precise, easy to operate, and equipped with intuitive software. These machines are versatile and feature software that combines the functionalities of four independent applications, enabling you to:
- Prepare vector graphic designs.
- Convert data.
- Control the machine, set its parameters, and send data for cutting.
- Automatically arrange elements on the material to optimize space utilization.
Cutting Thermal Window Sills Step by Step
Begin by creating a design for your warm window sills. You can develop the scheme for the profiles directly in the software or import file with project from an external source. Save your project for future reference or for use in subsequent projects.
Next, arrange the elements and initiate automatic data conversion in the software, which will transmit the data to the machine, allowing you to control it. You can select cutting parameters from a dropdown list within the software, simplifying the process and representing an innovative solution in the market. Confirm the settings and start the cutting process, retrieving the finished elements upon completion.
If you intend to cut the same shapes multiple times, simply load a new batch of styrofoam material for processing without adjusting the machine’s settings. Settings only need modification when you plan to cut different profiles or dimensions.
Installing Warm Window Sills
Proper and precise installation of warm window sills is crucial to ensure sealing and the effectiveness of the window system. Therefore, the best approach is to incorporate thermal insulation when installing new windows and sills. If you choose to install warm window sills independently of other window components, ensure you adequately shield the thermal insulation located beneath the window frame from direct sunlight.
Step 1: Prepare the Window Sill Profile
You will need mounting foam and thermal insulation tape to facilitate the process and protect against moisture. Begin by leveling and aligning the profile. Use a laser level to create precise alignment lines and measurements. If the warm window sill is too long, trim it to fit the wall recess accurately.
Step 2: Attach the Styrofoam Profile
To secure the window sill profiles, use styrofoam adhesive. If the wall recess is uneven, use thermal insulation mortar to attach the warm window sill. This mortar is easy to apply and offers water and frost resistance. Protect the warm window sill, and fill gaps around the window frames with low-expansion mounting foam or moisture-resistant silicone. Both materials have excellent adhesion properties and evenly fill empty spaces.
Step 3: Install Window Frames
Finally, attach the window frames and coverings. Ensure that the window frames align with the window sill.
By implementing warm window sills and employing proper installation techniques, you not only seal your windows effectively but also enhance the energy efficiency of your building. Thermal sills serve as an integral part of a comprehensive insulation strategy for both new construction and retrofit projects.
The cost of implementing warm window sills depends on factors such as the length of the profile (measured in linear meters), material, quantity, and whether the sills are single-sided or double-sided. If you would like to learn more about thermal cutters for styrofoam cutting, please do not hesitate to contact us. We offer not only CNC machines but also professional consulting and training services.

